 |
|||
|
|
|||
|
|
|||
| ||||||||||
|
|
 T.O. 35A2-2-39-11
TM 55-1730-221-12
open.
Open release valve (25) slowly, using slotted
end of handle (1), until jack begins to lower under load.
i s to be used when using jack to lift vertical loads:
T h e rate of load descent is in proportion to the degree
of release valve opening.
a. Close release valve (25) fully. Unscrew vent
assembly (52) vent screw two turns.
NOTE
b. Make sure that jack base rests on a firm and
Do not open release valve (25) more than two
level foundation.
If necessary, place a flat metal
complete turns.
p l a t e under jack base to provide secure footing for the
b . With release valve (25), open, rams will lower un-
jack.
der load until the load supports itself. Withdraw jack
from under load. Lower extension screw (49), and
manually press rams (33, 39, 44) until they lie flush
with base cylinder.
c . Fully close and tighten release valve (25). If jack
Do not attempt to lift loads exceeding 20,000
is to be stored, close vent assembly (52) vent screw.
p o u n d s (10 tons) with this jack.
o f lubrication is required. All internal parts operate in
c. Operate jack handle (1) to lift rams partially.
t h e hydraulic system fluid, which provides adequate in-
ternal lubrication. When extension screw (49), rams
d. Position jack under load and, if necessary, par-
( 3 3 , 39, 44), pump lever (5) or link pins (4, 7) appear
t i a l l y unscrew extension screw (49) to contact the load
dry or in need of lubrication, wipe clean of accumulated
and to provide additional lift. Do not attempt to un-
d i r t and grit, and apply a light film of lubricating oil,
screw the extension screw (49) more than four inches
Specification MIL-L-7870. Wipe away excess with a
(refer to paragraph 3-4e). Operate handle (1) to lift
clean,
lint-free
cloth.
r a m s (33, 39, 44) to contact the load if maximum ex-
tension screw lift is insufficient.
inspection is required. However, the following visual
e . After jack is firmly positioned under load, operate
c h e c k s shall be made whenever the jack is used:
jack handle (1) using long, smooth strokes until jack
h a s lifted load.
a . After each lifting operation, inspect for evidence of
f l u i d leaks, especially in the areas around pump packing
n u t (9) and piston (8), between rams (33, 39, 44) and
NOTE
i n s i d e diameter of cylinder bushing (31).
If jack lifting stops before rams are fully
b. Prior to using jack, inspect vent assembly (52)
extended, an overload is indicated and by-pass
vent screw for dirt or other obstructions in air pas-
valve is relieving fluid pressure (refer to
sage; and remove pump intake strainer (30) by un-
In this event, a jack with
screwing pipe plug (28) and withdrawing spring (29),
greater capacity shall be used to lift the load.
and inspect strainer (30) for accumulation of dirt,
metallic particles, or other foreign material.
u r e is used to lower the jack under load:
a r e encountered, locate the probable cause and remedy.
using figure 2-2.
a. Allow vent assembly vent screw (52) to remain
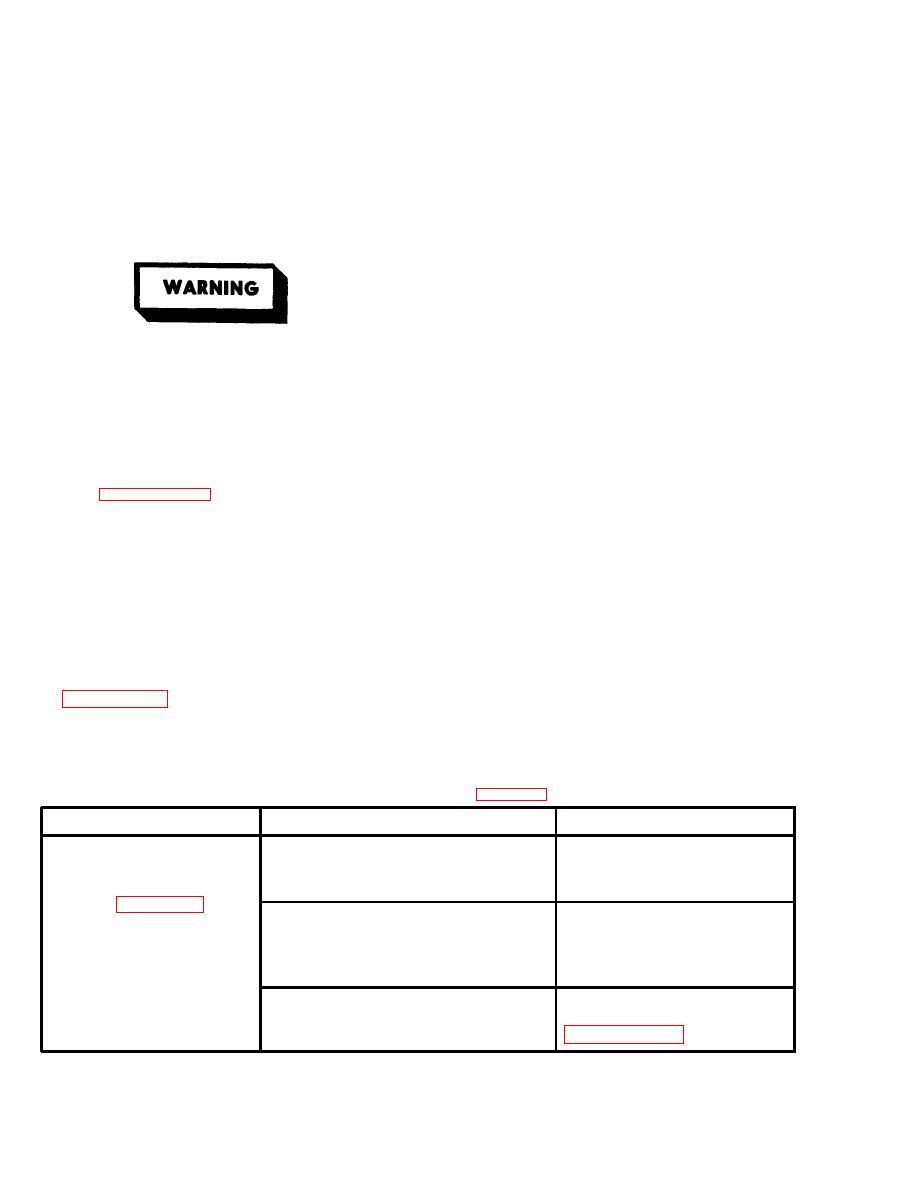
TROUBLE
PROBABLE
CAUSE
REMEDY
R a m s (33, 39, 44) fail to
Incomplete closure of release
Tighten release valve (25) se-
l i f t when jack is operated,
v a l v e (25).
c u r e l y with slotted end of jack
o r jack fails to lift rated
h a n d l e (1).
l o a d . (See figure 3-1.)
Obstructed fluid suction passage.
Disassemble jack. Blow pas-
sages clear with compressed
air. Reassemble jack, flush
a n d fill with clean fluid.
L o w fluid level.
I n s p e c t and fill to correct fluid
level if necessary (refer to
paragraphs 2-2c, 2-2d).
2-2
|
|
Privacy Statement - Press Release - Copyright Information. - Contact Us |
